There is quite a story behind how we ended up learning how to put in the electric system in our house...and doing it ourselves! You can read on an earlier post how our experience with our first electrician ended in disaster. We had a second electrician, Frank Mele, who helped us wire Rob's machines in his workshop. Frank was supposed to do the rough electric for us as well in a labor swap with Rob; however, after making plans with Frank, when the time came to do the work, Frank was nowhere to be found. After contacting him for over a month, we were desperate.** We "interviewed" several electricians for the job - most didn't call us back and we ended up with two quotes, which were way too high. Our last resort was to figure out how to do the electric ourselves. We had a kind offer from the electric inspector to go through what needed to be done, but the inspector ended up canceling two appointments at the last minute...ultimate frustration.
Enter Su. Su was apparently sent to us from God (according to her), which we really appreciate. She was a friend of a neighbor and came to volunteer just in time. Through her Church connections, Su was able to find us Electric Ed. Electric Ed was a former electrical inspector who was willing to give us lessons on how to install the electric system. Over the course of three lessons, Ed helped us to design the circuits, taught us about "daisy chains" and "pigtails" and Amps and Volts, explained what color wire we needed for which circuit, and we set to work.
**As an aside, we knew Frank was around because he was doing work for our neighbor Justin. Frank, we hate you!
Step 1: Running the wire
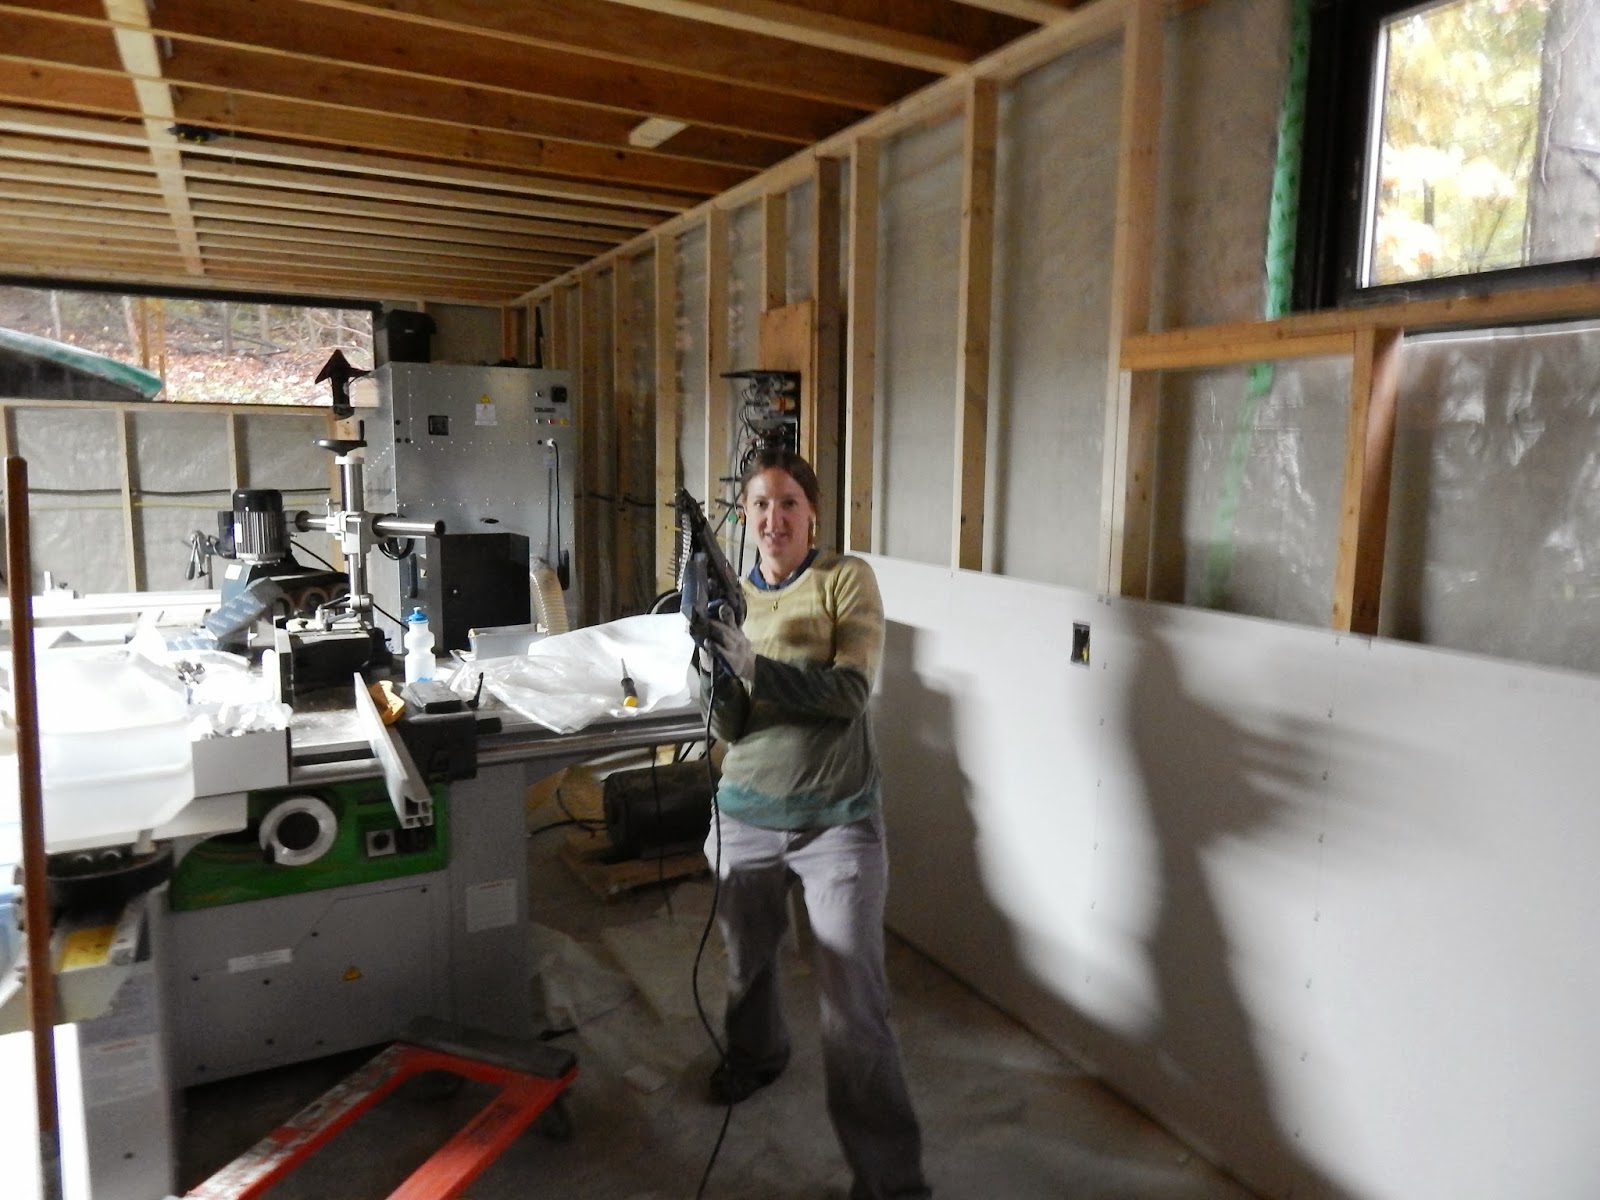
The first step was understanding that outlets generally need 12 gauge wire (yellow 12-2 wire) that can handle up to 20 Amps and up to 12 outlets. According to code, there needed to be an outlet every 6 feet. These can be daisy chained together. The recessed lighting that we planned to put in needed 14 gauge wire (white 14-2 wire) that can handle up to 15 Amps. These could also be daisy chained. We had special airtight outlet and light boxes that Rob installed, and we ran the wire. We were instructed to leave the wire hanging out about 6 inches from each box, so that's what we did.
 |
| A special team arrived to help with the job |
Step 2: Pigtails and Ground Wire
After step one, we next had to strip the end of the wire. When you strip a 12-2 or 14-2 wire, you find three wires inside - the "hot" (black), the ground (copper), and the neutral (white). Our task was to join the like color wires in each box with a wire nut (red or yellow winged structure) - the ends of these are stripped and cut to fit into the wire nut. A separate strip of the same color is then added coming out of the nut - this is the "pigtail" that will be attached to the electrical device. The "hot" wire brings electricity to the device, while the "neutral" wire closes the loop to the breaker box; the ground wire is there in case anything goes wrong and the system needs to be grounded. At this stage, the ground wire was left hanging out in the center.
Next, the ground wires were twisted together and connected with a crimp sleeve, or what Electric Ed calls a barrel clamp. One end of the ground wire is left unattached to be connected with the electrical device.
Step 3: Installing the breakers
At the other end, all the wires came to the breaker box. We had to figure out what type of breaker we needed for each circuit in our house. We learned about GFI breakers for circuits that go through wet areas, a new type of breaker called an ARC breaker that is needed for living spaces, and generally that outlets and devices that will be using 110 V need a single pole breaker, while devices using 220 V need a double pole breaker, and finally that we needed tandem breakers so that everything would fit (because things like our hot water heater needed 3 double pole 40 Amp breakers).
 |
| Rob repeatedly zapped himself because he wanted to listen to the radio, so didn't turn off the main breaker |
 |
| Rob's common line as he zapped himself was "It's only 110 Volts" |
Step 4: The Rough Inspection
We passed!
This means we now had the okay to install outlets, lights, devices, etc....ongelovelijk.