After Rob's wood finally arrived from Holland - special thanks to
Williams Lumber for providing a forklift to get the wood off of the
delivery truck, Rob began the task of cutting, assembling, gluing,
painting, and installing the window frames and doors. You might be
wondering: Why did we ship the wood from the Netherlands? The answer is
because we couldn't find wood over here that was cut to the thickness we
needed (to hold triple pane glass) and was of the quality we needed.
Additionally, Rob knew of a product in Holland where the wood (laryx, or
larch - a type of pine) is engineered to include a layer of insulation
between two layers of wood, which means that less heat will be
lost/gained through the window frames. The first set of pictures below
shows Rob cutting the wood and arranging it into piles to keep track of
the different frames.
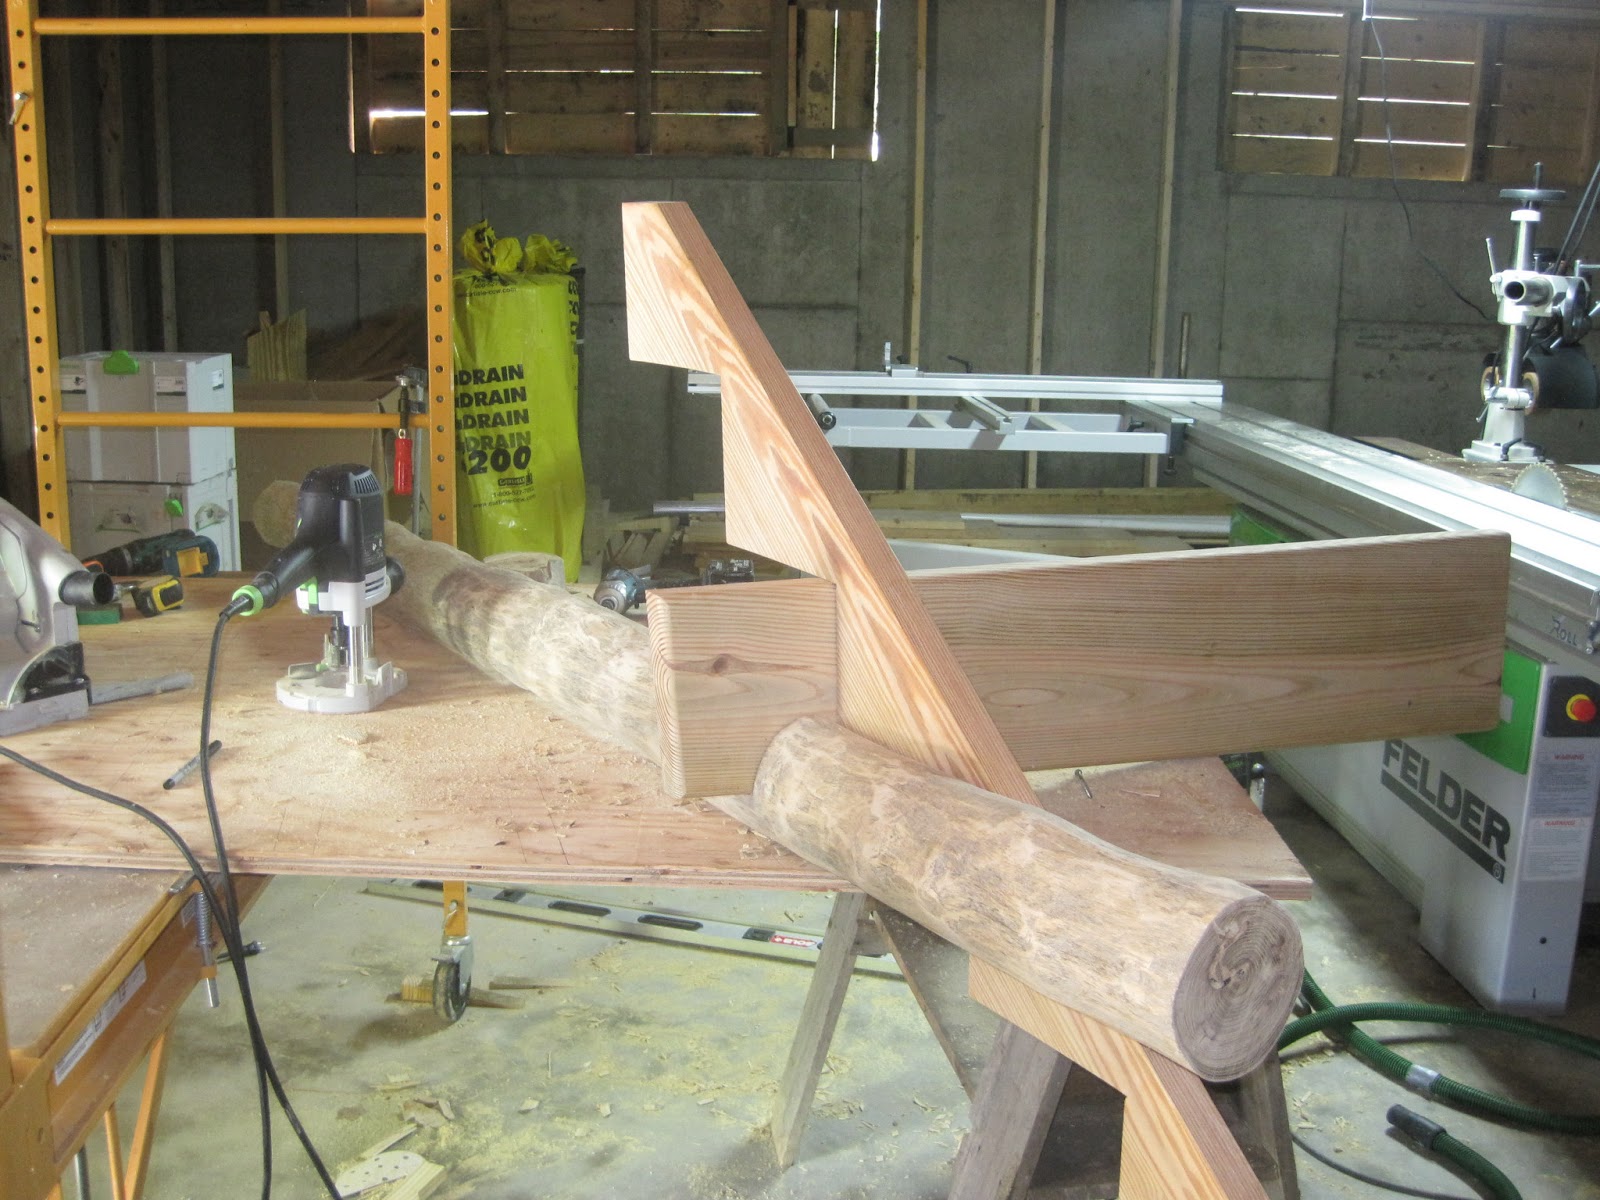
Step 1: Cutting the Wood for the Frames
Each piece of wood had to be cut to the right size, grooves added for the windows, sheetrock, and siding, another groove to catch internal condensation, and a drip edge angled on the outside to keep water out.

 |
| A Good View of the Insulated Wood |

Step 2: Assembling the Wood with Pegs


Step 3: Having a Heineken Break!

 | ||
| Rob was very happy I found him a large size Heineken - apparently the norm in Holland! |
Step 4: Gluing the Wood
Rob used different techniques to apply glue to each of the ends of the pieces of wood, and then used straps and clamps to make sure the wood was aligned properly.


Step 5: Installing the Locks on the Doors
Rob brought over special locks from Holland that lock each door in three places. The pics below show the groove that had to be cut for the metal lock and how the metal fits in. The next blog post will have pics of the finished door.


Step 6: Painting the Frames
Our original idea was for me to paint the frames as they were finished, while Rob could continue working on the others. However, the first three frames took three hours each just to primer them (I guess I'm a little slow!), so Rob had the idea to buy a paint gun, which worked a lot more quickly.

 |
| A nice view of the grooves in the wood |